Fun Thank You Card Ideas for You!
Looking for thank you card ideas? We've asked DT member Ruth to inspire you and share one of her handmade thank you cards with a step-by-step tutorial and lots of photos to guide you along! Happy crafting! :)
Thank You Card
By Ruth Wu
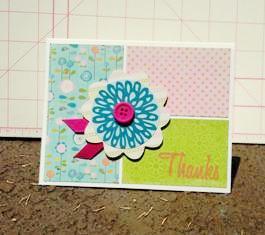
Supplies:
- Happier – My Minds Eye
- “Thanks” Inkadinkado – 20pc clear stamps
- Cricut – Give A Hoot cartridge
- EK Success circle cutter
- American Crafts – Amy Tangerine – premium ribbon pack
- ColorBox – pigment-archival-pink
How to make this card:
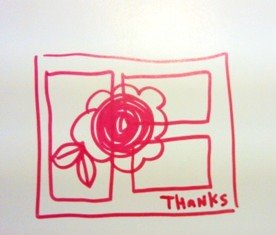
Having much success with first sketching a layout…I decided to do it again. If it ain’t broke, don’t fix it right? I started with a simple sketch this time.
Small confession here, I really am not a big fan of measuring and cutting. So tackling this 3-piece background was stressful. I usually “eyeball” my stuff, not really good with the ruler and so this was no different. On a recent trip to Jersey, I scored a huge stack of 6x6 pads (see our facebook page for the picture) I knew I wanted this card to be bright and cheery and selected paper from “Happier” by my minds eye. The good part about this pad is that it is double sided.
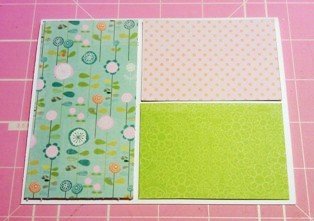
I just love coming up with thank you card ideas! For this one, simply select three different patterns and we are ready to go. I recently fell in love with my Cricut again and decided to make more use of it this Summer. Using the “GIVE A HOOT” cartridge, I selected a nice background for the flower.
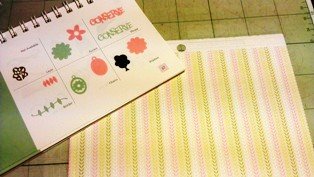
If you have never used a Cricut, its pretty simple. Just select the shape you want (see white arrow above) select what size you want it, for this, I cut it 2 ¾ inches. Then I knew I wanted to stamp a flower in the middle. So I used my EK success circle cutter and cut a 2’ circle. Stamped with a flower stamp I found in the $1 spot at Michaels and there you have it. A flower!
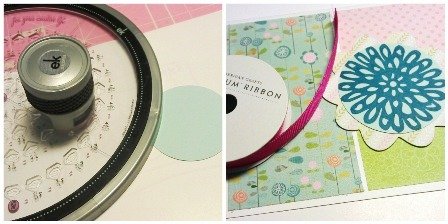
In place of leaves, I decided to use ribbon to give the card some texture. The ribbon I used here is from American Crafts – Amy Tangerine- premium ribbon pack. Just snip to little strips at an angle to make it look like leaves. The flower looked kinda plain so to give it some dimension, I used a button in the middle. I matched the color of the button and the ribbon to give the card some continuity.
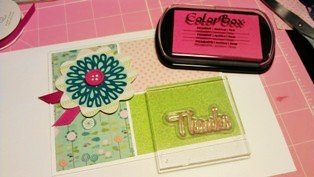
Almost done! All that’s left to do is stamp the sentiment. The “Thanks” stamp is from the “THANKS -20pc clear stamps” set from Inkadinkado.
Position the flower where you want it – use some popup tape -and there you have it. Completed in under an hour. :) Give it a try!
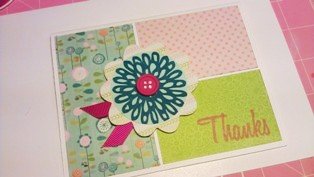
If you're on a roll and would like to create some more, we've got more thank you card ideas for you! Simply click on the link at the bottom to go to our card themes page. Enjoy crafting and do visit again soon! :)
Let's Make Greeting Cards Homepage


