Best Homemade Birthday Cards
We've been busy lately trying to provide all you wonderful visitors with the best homemade birthday cards ever! :) So on this page, DT Member Ruth will give you a full step-by-step tutorial complete with photos on how to make one of her beautiful birthday card ideas. Enjoy!
Celebrate You (Birthday Card)
By Ruth Wu
Supplies used:
- This and that –Graceful paper pack from Echo Park
- “Y” “O” “U” stickers from Simple Stories 100 Days of Summer
- Pop-tape from scrapbuck
- Twine
- Friskers corner squeeze punch
- Tombo tape runner
- Balloon stamp from some bargain bin at Michaels
- Happy Birthday stamp from Papertrey Ink – Inside and Out: birthday stamp set
All my homemade birthday cards as well as my other cards are made in A2 (1/4 page) size simply because this size is one of the easiest sizes to find an envelope for. Measurements are 4.25" by 5.5". To do this simple start with an 8.5" by 11" cardstock. Cut in half and fold in half an viola! You have your base card.
After this I start off with choosing my papers. I like to use papers from the same line so that the colors match and coordinate automatically. For this birthday card, I used the awesome “welcome to the design team” gifts that we got from Rochelle – Echo Park Grateful.
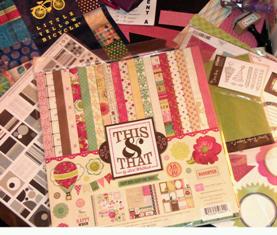
I like to start with a base that is somewhat neutral. For this project I selected a woodgrain paper. (As you can tell from my mothers day card, I am having a recent woodgrain obsession. I wanted to keep this card rather simple. But after adhering the woodgrain background, I found it a little too plain. So to add some *pop* I dug through my bin of scraps (Everyone has one right? If you don’t I recommend starting one. Simply go to the99cent store and buy a plastic container and start stashing your scraps in it.) Back to the card - I found this super cute paper that is shiny with little white dots and decided to trim it to a nice rectangle as a 2nd background/layer.
Next, I decided to work on the sentiment. I didn’t want to do the usual boring HAPPY BIRTHDAY! I wanted something sentimental. One of the papers in this collection is a “journal tag” paper and I found one that was perfect for a birthday.
I selected a credit card size tag with the words “fantastic/amazing/wonderful” and paired it with stickers from alphabet stickers from the “Simple stories – 100 days of summer” collection and spelled out “YOU”
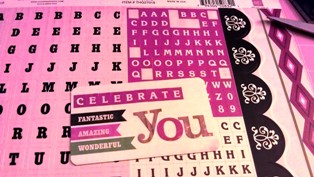
I always love to make homemade birthday cards heartwarming so I decided to add the word “celebrate” on the top so that it now reads "Celebrate fantastic, amazing, wonderful you”. *smile*
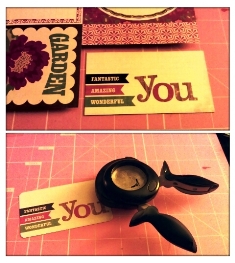
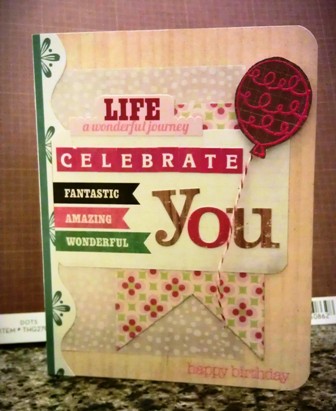
Once that was complete, it was time to adhere everything to the base and see if it needed more embellishments. It sure did. Pulled out my stash of birthday stamps and selected the balloon stamp. I knew I wanted to add some texture to my card and decided that instead of just stamping the balloon on, I could use twine for the string and that would really make it sorta 3d-ish and also bring a different texture to the card. Stamp, emboss, cut, stick twine on back and we are done with the balloon!
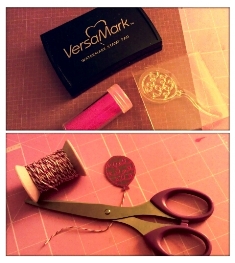
Almost there folks, all that is left to do is to adhere the balloon to the card and for that I used pop-up tape to give it the illusion that it is flying. After adhering the balloon, I still felt like there was some empty space and that it could use one more embellishment before becoming overcrowded and so from the sticker sheet I selected this file-folder tab sticker that said “LIFE – a wonderful journey.” Having recently turned 30, I can attest to that. :)
And to make doubly sure that people know this is a birthday card, I just stamped “happy birthday” at the bottom.
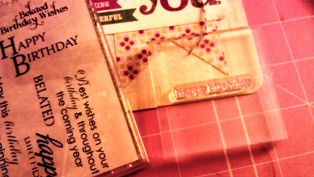
And there you have it: Your finished product – a birthday card for that fantastic, amazing, wonderful someone.

What I like about this card is that it is so versatile; you could stamp “thinking of you” and change the balloon to a hot-air balloon or a butterfly. The possibilities are endless. Happy modifying!
Oh and don't forget to check out other homemade birthday cards we have! :)
More Homemade Birthday Cards
Let's Make Greeting Cards Homepage


