[?]Subscribe To This Site
Fun Birthday Card Ideas
One can never have too many birthday card ideas! So in light of that thought, we've especially reserved this page for our DT Member April! She'll teach you how to make a fun happy birthday card you're sure to love!
Wishing You a Happy Birthday!/span>
By April San Pedro
Hello everyone... I hope you're feeling crafty today because I'm going to show you how to make a Birthday pop-up greeting card which is one of our fun birthday card ideas.
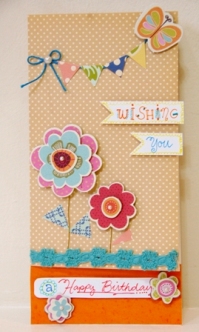
This tutorial is so easy that you can finish in less than 30 minutes.
Here are the materials you'll need:
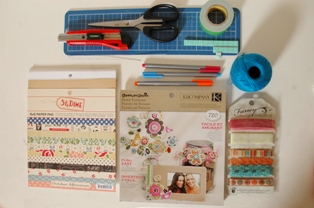
- October Afternoon 5&Dime 8x8 paper pad
- K&Company Carolyn Gavin Paper Flowers Collection
- Ribbons or laces
- Crochet Yarn
- Wire
- Cutter, Cutting Mat and Scissors
- Glue, Double-sided Foam Tape
- Color Pens
- Embellishments {pearls, rhinestone, etc}
This is how I made the birthday card:
- I used the 8x8 pad as my card base and fold it into half, using a bone folder. So the card size is 4x8in.
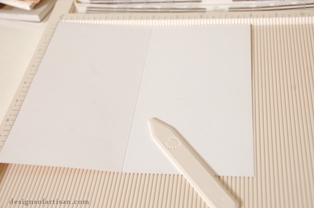
- I also creased 2inch below the cover page and cut it. This will make the front shorter that the back.
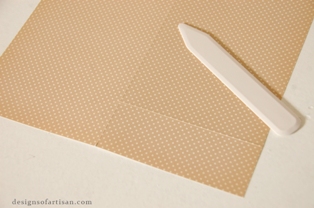
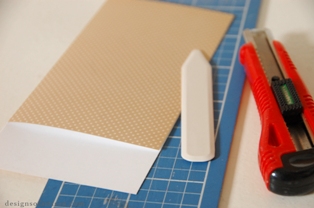
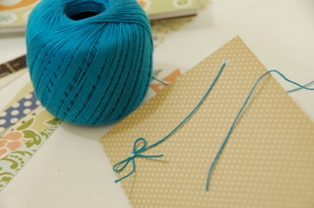
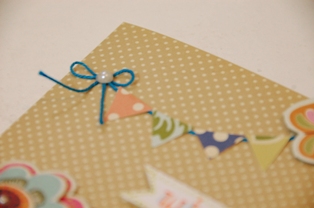
- Now we have our base for the card, tie a ribbon using the crochet yarn. Glue the ribbon side on one side and leaving and extra length on the other end of the card. This will be your string for the bunting.
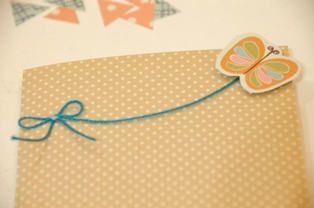
- Using the K&Company Carolyn Gavin paper flowers, I added a butterfly on the other end of the string. Use a double-sided foam tape to make the butterfly popped from the card.
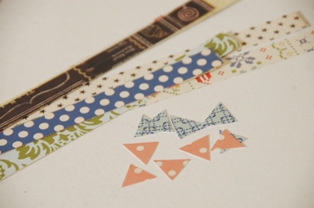
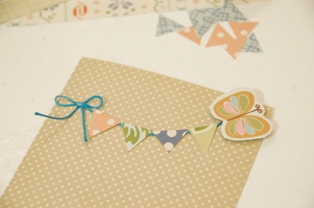
- We're done with our bunting string, it's time to make the buntings. If you have scratch cardstock, it's time to recycle them. Cut small triangles from it and attached it on top of the crochet yarn.
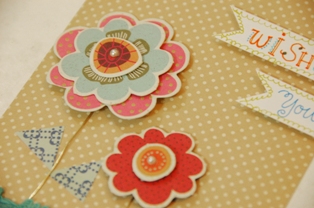
- Using the K&Company Carolyn Gavin paper collection again, I cut-out some paper flowers. I added one flower on top of each other adding double-sided foam in between making 2 or 3 layers per flower.
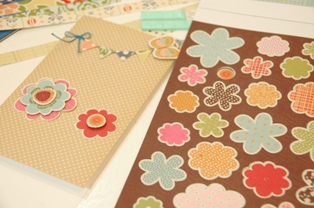
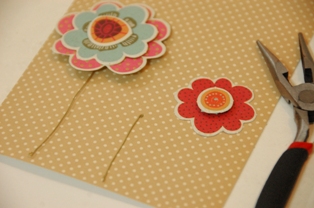
- Before attaching the paper flowers on the card, cut a wire to make a stem for the flowers. Then placed the wires on the lower left side of the card.
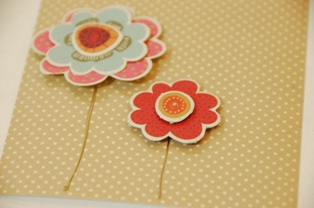
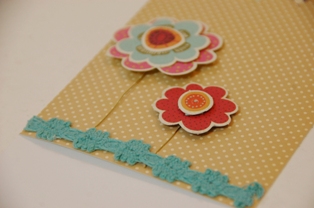
- Glue a ribbon or lace to cover the end of the wire.
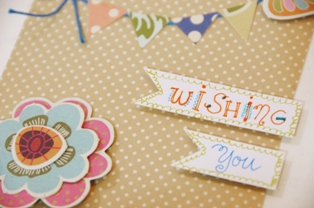
- Now let's add some texts on the card... Using your colored pens, write the word "Wishing" on a small piece of paper cut into a banner. Then on a smaller one, write the word "You"
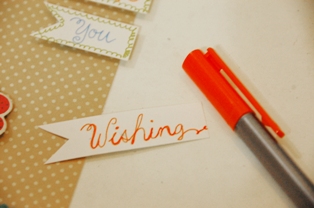
- Using the double-sided foam again, attached the text banners on the right side of the planner.
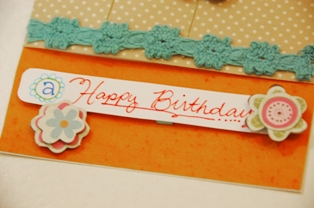
- Do the same thing on the lower part of the card. Add the phrase "A Happy Birthday" on a curved rectangular paper, then include some paper flowers on the side. Once you open the card, this part will be seen from the inside.
- Lastly, I just added some pearl embellishments on the paper flowers and on the crochet yarn.

I hope you enjoy making this birthday card tutorial. If you do not have the die-cut paper flowers, you can always draw your own flowers and cut them manually.
For more inspiration, check out other Birthday Card Ideas we have and you'll be amazed! :)
More Birthday Card Ideas
Let's Make Greeting Cards Homepage


